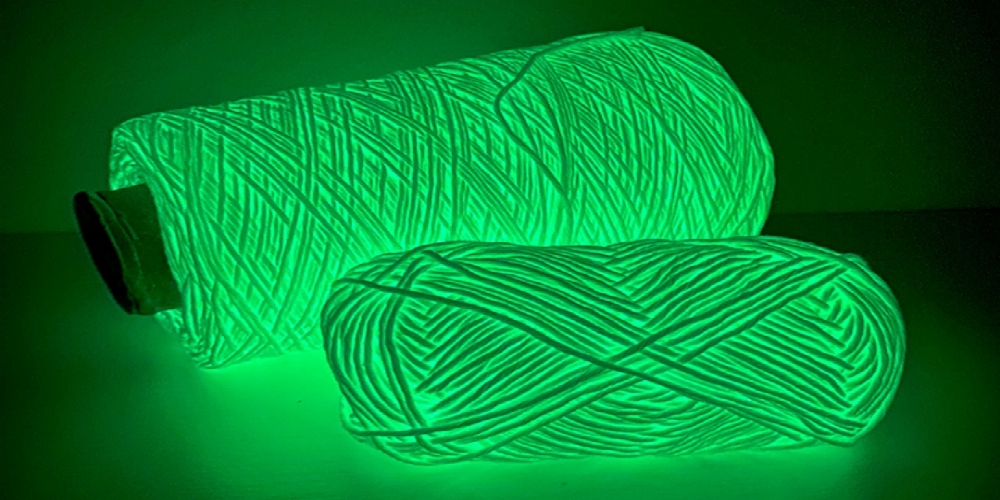
The type of yarn used for crocheting/knitting plays a major role in determining how outstanding your project might come out. Interestingly, a glow in the dark yarn gives your project that outstanding outcome.
Commonly, it’s of two forms. The first is when a reflective thread is woven into yarn, while the second is when you use a fluorescent acid dye to treat a yarn. Just as the name implies, glow in the dark yarns glows in the dark.
Owing to their speciality, they tend to be scarce and may only be supplied on order. So, it’s advisable to simply buy the materials and do it yourself. And that’s the purpose of this article. It provides you with knowledge of the materials needed for making a glow-in-the-dark yarn as well as easy steps to follow.
Materials Needed
Here are the materials needed in making a glow-in-the-dark yarn:
- White or light-coloured 100% wool yarn
- Fluorescent acid dye
- Water
- Sink or Container
- Gloves
- Spoons
5 Easy Steps in Making a Glow in the Dark Yarn
These are the 5 easy but effective steps to follow in the making of a glow-in-the-dark yarn.
- Step 1: The first step required in making a glow-in-the-dark yarn is to pour your desired quantity of fluorescent acid dye into a sink or you can make use of a container. The quantity of fluorescent acid dye to be poured is solely dependent on the number of yarns to be treated. If you want to treat more yarns, then you should pour more quantity, on the other hand, if you want to treat a single yarn, then you should use little.
- Step 2: After you have poured your fluorescent acid dye into a container, add water into the container and stir very well till the fluorescent acid is mixed thoroughly with the water. Ensure that the amount of water is not more than the acid dye. Both solutions should be even for maximum effect.
- Step 3: Now, you should have a mixed solution of water and fluorescent acid dye. Add the yarn and stir till it’s thoroughly saturated. Then, let it soak in the mixture for about 15 minutes.
- Step 4: After 15 minutes, drain the container and pour warm water into it for rinsing the yarn. If you don’t have warm water, it’s still okay to use lukewarm water, though the yarn might be a bit stiff. But, after a while, it would return to normalcy. Please, note that cold water is not an option at all.
- Step 5: After rinsing the yarn in water, gently squeeze out the excess water, but ensure that you do not squeeze till it becomes dry. When you’re done squeezing out the excess moisture, then place the yarns to air dry.
Bonus Tip: When you’re done with the entire process and have even produced outstanding projects, apply fluorescent paints to them for more effect.
Conclusion
It is one thing knowing these easy steps and another thing applying them. Carefully follow these 5 easy but effective steps and watch yourself produce outstanding glow-in-the-dark yarns for your neat knitting projects.

